

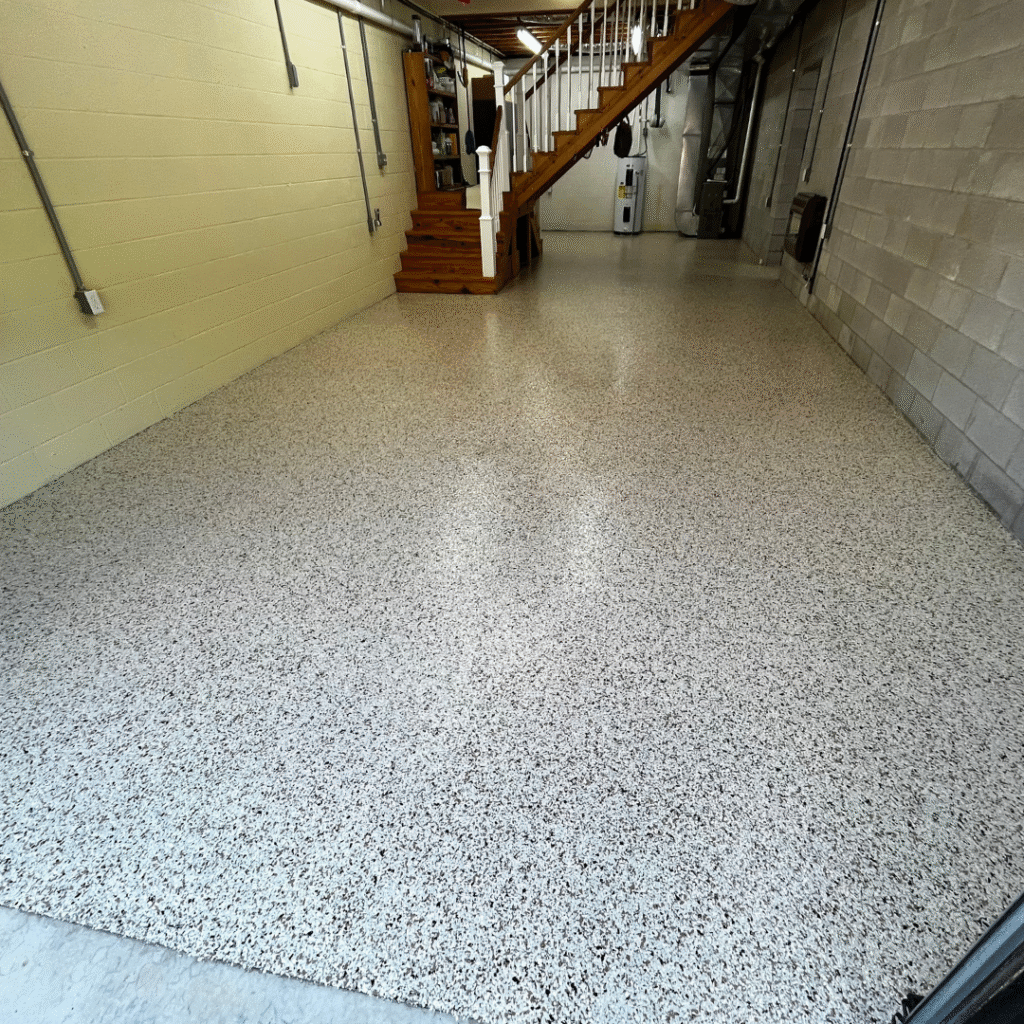
Concrete Floor Preparation for Coating in Rome, Georgia
Why Concrete Floor Preparation Work Determines WhetherYour Coating Sticks
Concrete looks solid, but it’s actually porous. It absorbs oil, holds moisture, and develops a surface layer called laitance that is too weak and smooth for a coating to grip. If you apply a polyaspartic or polyurea coating over a slab that hasn’t been properly prepared, the coating won’t bond to the concrete. It bonds to whatever contamination is sitting on top of it. That’s what causes the peeling, bubbling, and chipping you see on failed DIY kits and rushed installations.
No amount of premium coating material can compensate for poor surface prep. The prep work is what makes a coating last 15 to 20 years instead of two.
Step 1: Clear the Space and Remove Surface Contamination
Before any prep equipment touches your floor, clear everything out. Move vehicles, shelving, boxes, and any items stored on or near the slab. Once the floor is empty, start cleaning.
The goal here is to remove anything that could block the coating from reaching the concrete:
- Sweep and vacuum the entire surface to pull up loose debris and dust
- Degrease oil-stained areas using a concrete-specific degreaser; old garage floors in Rome, GA homes often have years of oil buildup from vehicles that needs multiple applications to fully lift
- Rinse and let dry completely — the slab should have no standing moisture before you move to the next step
Oil and grease stains are the most common prep killers on garage floors. If an oil stain isn’t fully removed before grinding, it gets worked into the surface and creates a weak spot under the coating. Take this step seriously.
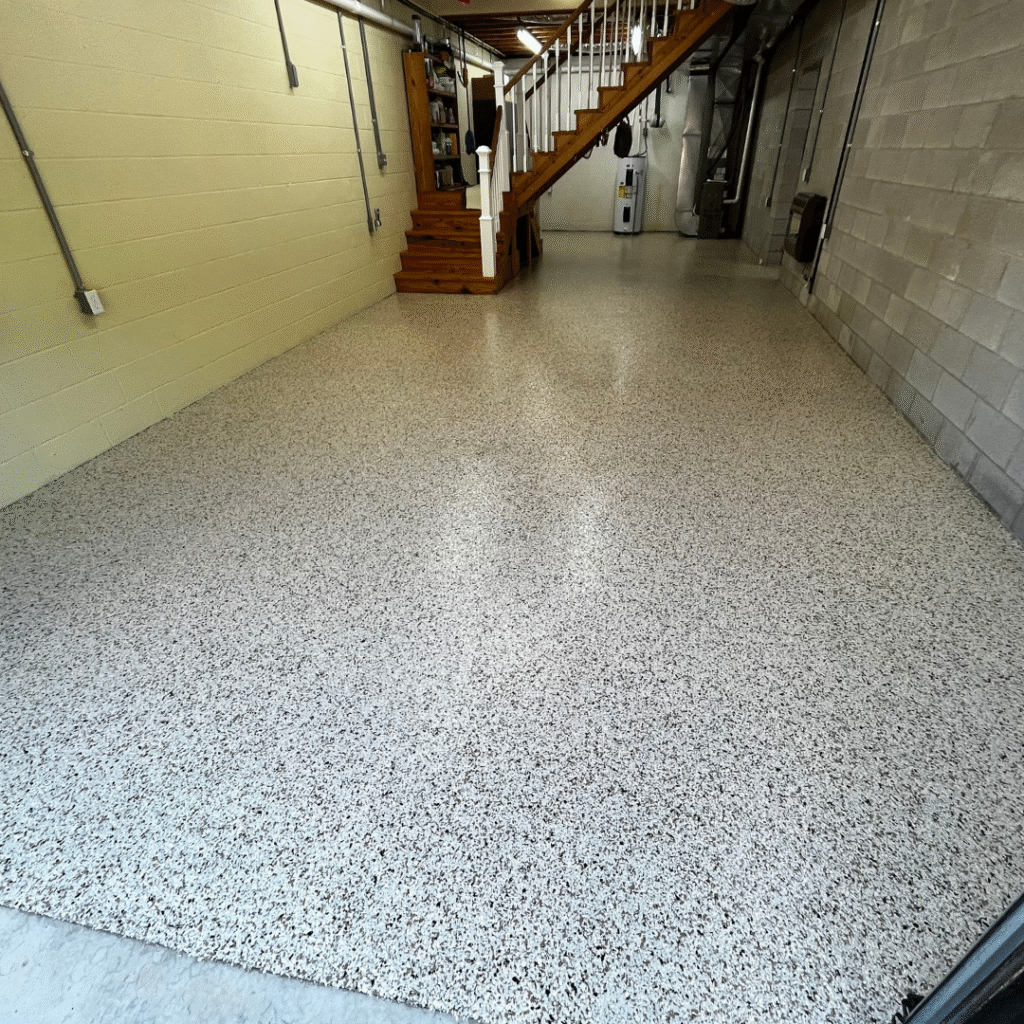
Step 2: Inspect and Repair Cracks, Pits, and Damaged Areas
Walk the entire slab and look for damage before you do anything else. You’re looking for:
- Hairline cracks and shrinkage cracks that run across the surface
- Spalling — areas where the concrete surface is flaking or breaking apart
- Pits and divots from heavy impacts or surface deterioration
- Control joint damage at the seams cut into the slab
Cracks and pits need to be filled with a compatible repair compound before the coating goes on. If left unaddressed, they’ll show through the finished surface and create weak points where the coating can lift under stress.
Repairs need to be fully cured and flush with the surrounding concrete. Any raised or uneven patches get ground smooth so the coating applies evenly across the whole floor.
Step 3: Test for Moisture
This step gets skipped more often than it should, and it’s one of the leading causes of coating failure in the Southeast.
Georgia’s climate creates conditions where moisture vapor can push up through a concrete slab from below, especially in basements and ground-level garage floors in Rome, GA, where soil moisture is high. If you apply a coating over a slab with a moisture problem, that vapor has nowhere to go. It pushes against the coating from beneath and causes blistering, bubbling, or complete delamination.
A simple way to check: tape a piece of plastic sheeting flat against the slab and seal the edges with tape. Leave it for 24 hours. If you see condensation underneath when you pull it up, moisture is coming through.
High-moisture slabs need a moisture-mitigating primer or vapor barrier system before any topcoat is applied. Skipping this step in Georgia’s humid climate is how coatings fail on an otherwise well-prepped floor.
Step 4: Mechanically Profile the Surface
This is the step that separates a professional installation from a kit-store job.
Concrete needs to be mechanically profiled — meaning the surface has to be physically opened up and textured — before a coating can bond to it. The standard method for polyaspartic and polyurea coatings like those in the Penntek system is diamond grinding. Shot blasting is used on heavier industrial applications.
What diamond grinding does:
- Removes the top layer of laitance and any old paint, sealer, or previous coating that would block adhesion
- Opens the pores of the concrete so the base coat can penetrate and lock in
- Creates a surface profile similar to fine sandpaper that gives the coating mechanical grip
Acid etching — the method used by most big-box DIY kits — does not create a sufficient profile for high-performance polyaspartic coatings. It may be enough for thin paint-type products, but for a coating system designed to last decades, mechanical grinding is the correct approach and is what professional concrete floor coatings contractors use on every job.
Professional grinders are also equipped with dust shrouds and vacuum systems, which matters for the next step.
Step 5:Final Vacuum and Surface Wipe
After grinding, the floor is covered in concrete dust and fine particles. Even a thin layer of dust is enough to prevent proper adhesion. The coating doesn’t bond to the concrete. It bonds to whatever is on the surface.
A thorough vacuum of the entire slab using equipment with a HEPA filter pulls out particles from the pores. Edges and corners get special attention since grinding equipment can’t always reach those areas as effectively. A final wipe-down removes any remaining residue before the base coat goes on.
At this stage, the floor should look and feel like fine sandpaper — clean, slightly rough, and completely free of dust, grease, or debris. That’s the surface a polyaspartic coating needs to bond correctly.
What This Looks LikeWhen a Pro Does It
When Revolution Flooring installs a coating in Rome, GA, or the surrounding Northwest Georgia area, all five of these steps happen before a single drop of coating touches your floor. The slab gets mechanically ground with professional equipment, cracks and pits are repaired, moisture is assessed, and the surface is vacuumed clean.
That prep work is what backs the Limited Lifetime Warranty. A coating applied over a properly prepared surface simply doesn’t fail.
Most residential projects, including two-car garages, patios, and basements, are completed in a single day. The prep is done in the morning, and the Penntek polyaspartic base coat and topcoat go on the same day, leaving you with a floor that’s walkable within hours and fully cured in 24.
Frequently Asked Questions About Concrete Floor Prep
Do I need to prep my floor if it’s new concrete?
Yes. New concrete still has laitance on the surface and needs to be mechanically ground before any coating is applied. Age doesn’t change that requirement.
Can I prep the floor myself before a professional installs the coating?
Surface clearing and degreasing are things you can do. Mechanical grinding and moisture testing require professional-grade equipment to be done correctly. Most homeowners let the installer handle all prep to protect the warranty.
How long does prep take before the coating goes on?
For most residential garage floors in Rome, GA, prep is completed in the morning, and the coating goes on the same day. The full project is typically done in one day.
Does skipping prep void the warranty?
Yes. The Penntek Limited Lifetime Warranty requires proper surface preparation. Coatings that fail due to improper prep are not covered.
Ready to Get Your Rome, GA Floor Coated the Right Way?
If you’re in Rome, GA, Cartersville, Calhoun, or anywhere across Northwest Georgia, North Atlanta, and nearby areas, Revolution Flooring handles every step of this process for you. You clear the space — we do the rest. Our Penntek-certified team will assess your slab, walk you through your options, and get your floor done right the first time, backed by a Limited Lifetime Warranty.
Call us at (770) 709-8497 or fill out our contact form to schedule your consultation.